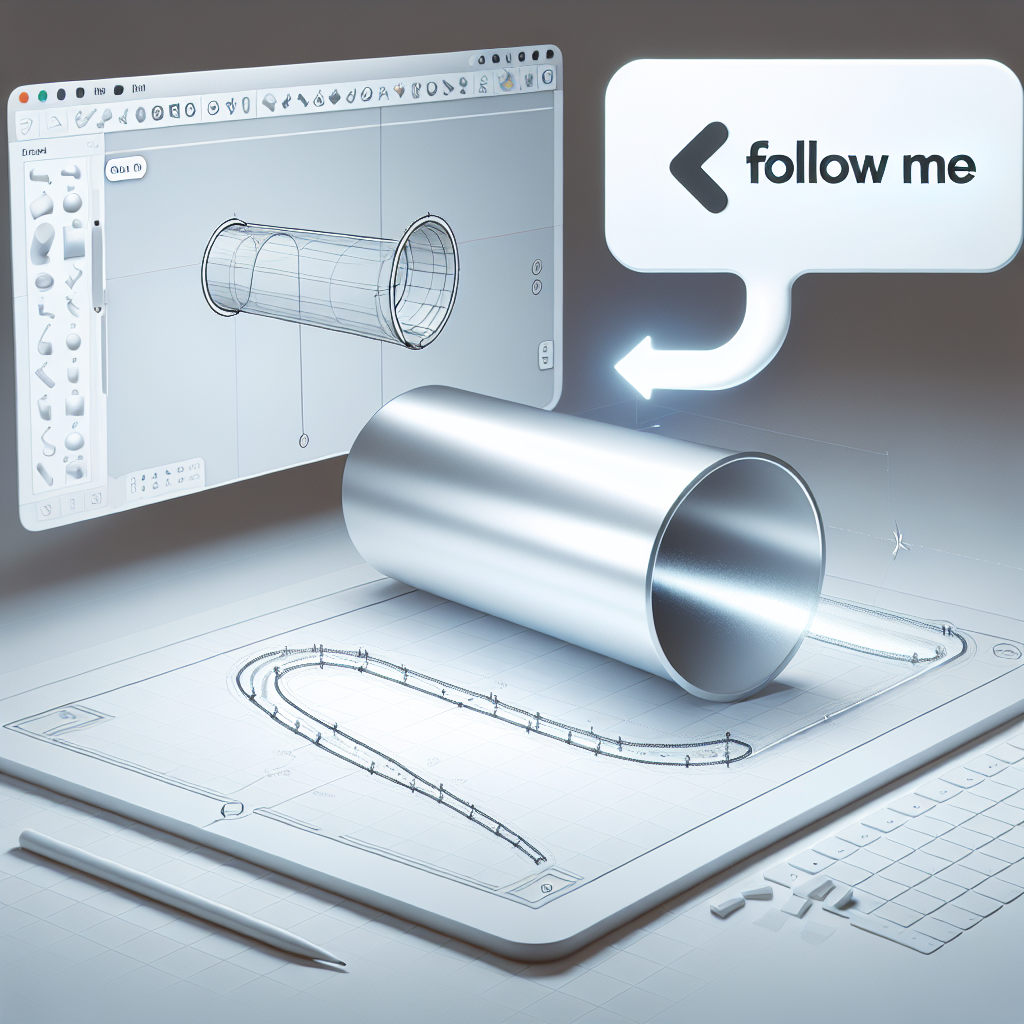
If you’re looking to create a pipe in SketchUp, using the Follow Me tool can make the process quick and efficient. Follow these simple steps to master the art of pipe creation in SketchUp:
Step 1: Draw the Path for the Pipe
Start by drawing the path that will define the shape of your pipe. This can be a straight line, a curve, or any other shape you desire.
Step 2: Create the Profile of the Pipe
Next, draw a small rectangle or circle that represents the cross-section of your pipe. Make sure the shape is perpendicular to the path you created in step 1.
Step 3: Select the Follow Me Tool
Now, select the Follow Me tool from the toolbar. Click on the profile shape you created in step 2, and then click on the path you drew in step 1. The Follow Me tool will automatically extrude the profile shape along the path, creating a pipe.
Step 4: Fine-Tune the Pipe
You can now make any adjustments to the pipe you created. Use the Eraser tool to refine any unwanted edges or shapes.
That’s it! You’ve successfully created a pipe in SketchUp using the Follow Me tool. Practice this technique with different shapes and paths to master the art of pipe modeling in SketchUp.
